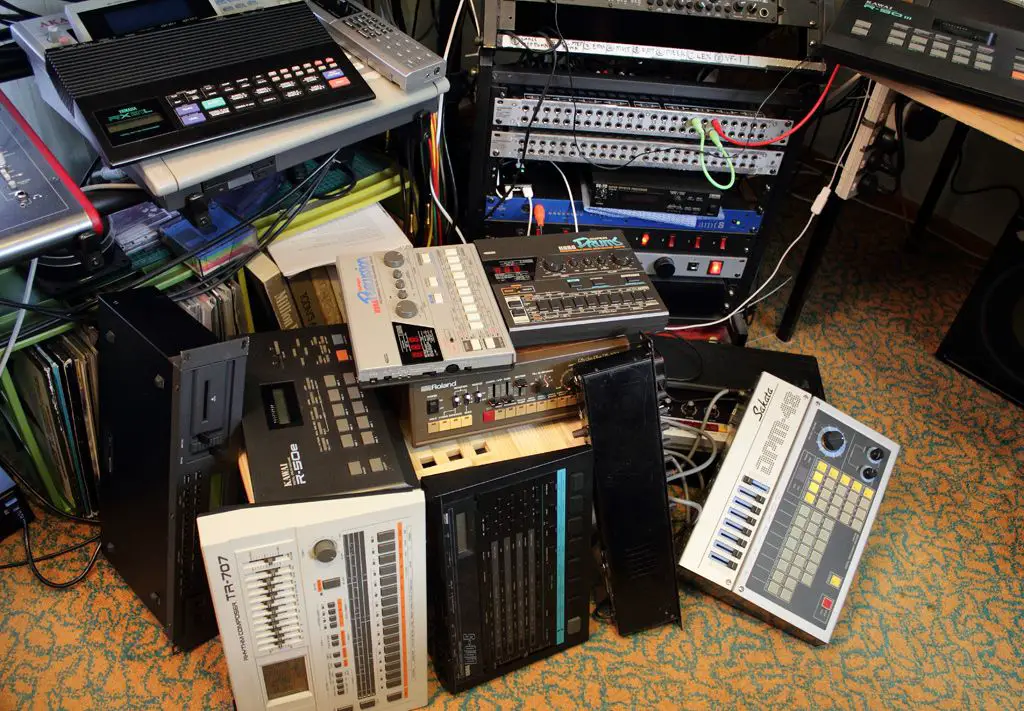
For all those who are producing Dance Music, then you know that the drums are the core elements of the song and they need to be punchy and present. Which can be a hard thing to achieve with sampled drums.
If you’re struggling to make your sampled drums cut through the mix then on this tutorial I’ll show you how to make them more bright and full of energy. This blog post will be useful for those who use VST, sample from old records or those who use royalty free loops.
I will be showing you how I took a fairly average drum loop and gave it life. You’ll find the audio examples of before and after below. I’m not saying use loops, I don’t use them in my productions. But you can take these strategies and apply them to your drum buss.
When I was listening to the drum loop, I realized it already has a limiter so I wont need much compression. I tried the Ozone Dynamic processor, SSL Comp, CLA 76 and the PuigChild 670. The one that was sounding good and working well with the drums was the PuigChild 670.
I did a gain reduction of about -2.8dB on the left channel and around -3.4dB on the right because the right channel was louder than the left channel. Lastly I pushed the make-up gain to 1.6dB.

The next thing I added was the new FabFilter Pro Q-2 for equalization. The 1st thing I did on the drums was to create a low cut but only on the sides to make the kick drum mono, by using mid side processing.
The drums didn’t have a lot of low-end so I decided to make a boost at 52Hz. The drums also had a lot of boxiness which I removed by making a big cut at 415Hz. I also removed some nasal at 932Hz.
I also removed some loud peaks, which were mostly created by the snare at 4.4kHz and 5.9kHz. Finally I did a high shelf boost at 10kHz to add some brightness.

To add more bass I also added the Waves Maxbass plugin to boost the 79Hz frequency range. I also added an exciter to make the high frequencies shine. The last thing I added is the Waves Center plugin to bring up the sides of the drums.
After that I wanted to add some parallel compression but I realized that the drums are sounding good just the way they are and they don’t need any upward compression.
If you follow these steps only to find that your drums are still disappearing in some parts of the song then try doing some parallel compression it should help them cut through the mix. If that doesn’t work as well then you’ll need to fix the individual drum sounds.
Unlike live drums, sampled drums can give you a hard time to make them shine in a mix but after reading this blog post it shouldn’t be a problem fixing them because now you have an idea of how to make them bright and punchy.
If you have any questions about the tutorial then leave a comment below, you know I always respond and don’t forget to download your mastering guide below.
OK enough said here are the audio examples before and after all the processing. Don’t forget to browse the blog to find more tutorials about mixing electric guitars, vocals, brass etc.
Great post, thanks!
Thanks for this advice for sampled drums. You mentioned that you first try to create a low cut on the drums but only on the sides. I’m interested to learn if the amount cut was significant or if it was just minor enough to make a difference.
Hi Taylor, it is significant. Cut up to around 100Hz that will make your low-end tighter.